
If you love sneakers, then you know that Converse shoes are a classic. Drawing a Converse shoe is easier than you might think! With a few simple steps, you can learn how to draw this iconic sneaker so you can add it to your drawings, cartoons, and other art projects. So grab your pencils, paper, and some inspiration, and let’s get started on learning how to draw a Converse shoe!
How to Draw a Converse Shoe:
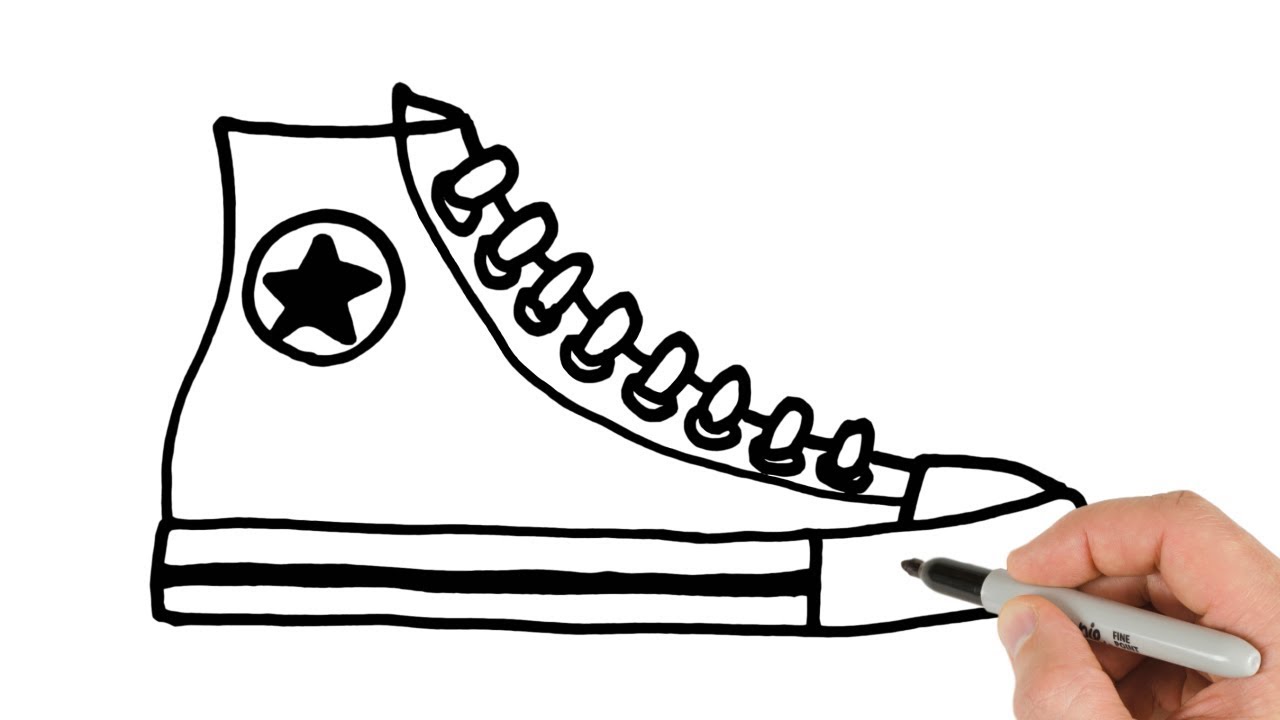
- Start by drawing the sole of the shoe. Draw a simple curved line to create the heel and a longer curved line for the toe.
- Draw the sides of the shoe, creating the classic Converse shape. Outline the top of the shoe with two lines, one connecting the two curved lines of the sole and the other connecting the toe and heel.
- Draw the laces. Start with two curved lines at the top of the shoe and draw two more curved lines down the side of the shoe to create the laces.
- Draw the details of the shoe. Add a line around the toe and heel and draw the Converse logo on the side of the shoe.
- Colour the shoe in with colour pencils or paint. Choose the classic black and white colour scheme for a classic look.
How to Draw a Converse Shoe Step by Step
Drawing a Converse shoe is a fun and creative way to express your style. It is also a great way to learn how to draw different types of shoes. In this tutorial, we will show you how to draw a Converse shoe step by step. You will need a piece of paper, a pencil, and some colored markers or crayons. Let’s get started!
The first step to drawing a Converse shoe is to draw the outline of the shoe. Start by drawing a rectangular shape for the sole of the shoe. Then, draw two curved lines at the top of the rectangle to form the toe area. Next, draw a curved line at the back of the shoe to form the heel. Finally, draw two short curved lines to form the laces.
Adding the Details
Now it’s time to add the details to your Converse shoe. Start by drawing two curved lines on each side of the toe area to form the upper part of the shoe. Next, draw two curved lines on either side of the heel to form the back of the shoe. Finally, draw two curved lines at the top of the laces to form the tongue of the shoe.
Coloring the Shoe
The last step is to add some color to your Converse shoe. You can use markers, crayons, or colored pencils to color the shoe. You can choose any colors you like. If you want to create a classic look, you can use the traditional black and white colors. Or you can mix and match colors to create a unique design.
Finishing Touches
Once you have finished drawing and coloring your Converse shoe, you can add some finishing touches. You can draw extra details such as stitching or laces. You can also add some shading to give your shoe a 3D effect. When you are finished, you can proudly display your work of art!
Practice Makes Perfect
Drawing a Converse shoe can be challenging at first, but with practice, it will become easier. Keep practicing and honing your skills and you will soon be able to draw a perfect Converse shoe every time.
Tips and Tricks
Here are some tips and tricks to help you draw a perfect Converse shoe:
Start with a Simple Sketch
Start by sketching a simple outline of the shoe. This will help you get the basic shape before you start adding details.
Use Reference Photos
If you need some help, you can use reference photos to help you get the details just right.
Take Your Time
Don’t rush the process. Take your time and enjoy the process of creating your artwork.
Few Frequently Asked Questions
Q1. What materials do I need to draw a Converse shoe?
A1. To draw a Converse shoe you will need some basic art supplies such as paper, pencils, erasers, and colored markers or pencils. You may also want to have a ruler, protractor, and compass to help with measurements and angles. Additionally, you might consider having a reference image of a Converse shoe to help guide you in your drawing.
Q2. How should I begin drawing the Converse shoe?
A2. When beginning to draw a Converse shoe, you should start by sketching out the shoe’s main elements. These include the toe, heel, laces, upper, and sole. Start by drawing a basic shape for each element and then refine each one as you go. When sketching, use light lines and don’t be afraid to make mistakes. You can always erase and redraw.
Q3. How do I add details to the shoe?
A3. Once you have the main elements of the shoe sketched out, you can start adding details. Consider the shape of the toe, heel, and laces, and add any extra details such as stitching, eyelets, and logos. Take your time and make sure to draw each detail as accurately as possible.
Q4. How do I draw the upper of the shoe?
A4. The upper of the Converse shoe is made up of several parts that come together to form the overall shape. Start by drawing the main parts such as the toe, heel, and sides. Then add any additional details such as the logo, laces, and material texture. Make sure to measure the angles and distances between the parts to get the correct proportions.
Q5. How do I draw the sole of the shoe?
A5. The sole of the Converse shoe is made up of several parts that come together to form the overall shape. Start by drawing the main parts such as the toe, heel, and sides. Add details such as the tread pattern, grooves, and logo. Measure the angles and distances between the parts to get the correct proportions.
Q6. How do I color the shoe?
A6. Once you have finished drawing the shoe, you can begin to color it in. Consider what colors you want to use and start by coloring the main elements. Use different shades and tones to bring out the details. If you are using markers, make sure to wait until the ink has dried before adding more layers. Once you have finished coloring, you can add any final details such as shadows and highlights.
How to Draw Converse Shoes Sneakers Easy Drawing
Drawing a Converse shoe is a fun and creative way to show your love for the classic sneaker! With the help of a few simple steps and a few materials, you can create your own Converse shoe drawing. Whether you’re a beginner or a pro, you can follow these steps to draw a Converse shoe that’s sure to impress. With the right tools and some practice, you’ll be a Converse shoe expert in no time!