
Are you a fan of Justin Boots but struggle with lacing them up properly? Fear not, as we have some tips and tricks to help you lace your boots like a pro. With a proper lacing technique, you can ensure your boots fit comfortably and securely, while also adding some style to your overall look. So, let’s dive in and learn how to lace Justin Boots!
Whether you’re a seasoned cowboy or simply love the rugged style of Justin Boots, knowing how to lace them up is essential. With a variety of lacing options and techniques, it can be overwhelming to know where to start. But we’ve got you covered with step-by-step instructions and illustrations to guide you through the process. So, grab your boots and let’s get started!
How to Lace Justin Boots?
Justin Boots is a well-known brand that has been providing high-quality boots for more than 140 years. With their wide range of styles and designs, Justin Boots are the perfect addition to any outfit. Properly lacing your Justin Boots can provide a comfortable and secure fit, and can help prevent blisters and other foot-related issues. In this article, we will guide you on how to lace Justin Boots.
Step 1: Choose the Right Laces
Choosing the right laces for your Justin Boots is important. The length and material of the laces can affect the fit and comfort of your boots. Justin Boots come with laces, but if you need to replace them, make sure to choose laces that are the same length and material as the original ones.
When choosing laces, consider the type of activities you will be doing in your boots. If you will be hiking or doing other outdoor activities, choose laces that are more durable and can withstand wear and tear.
Benefits of Choosing the Right Laces:
- Comfortable fit
- Prevent blisters
- Long-lasting
VS.
- Choosing the wrong laces can cause discomfort and blisters
- Poor quality laces can break easily and need to be replaced frequently
Step 2: Begin Lacing
Start by inserting one end of the lace into the bottom left eyelet of the boot. Make sure the lace is even on both sides before continuing. Cross the left lace over the right and insert it into the next eyelet on the right side. Pull the laces tight to ensure a secure fit.
Benefits of Properly Lacing Your Boots:
- Prevents blisters and discomfort
- Ensures a secure fit
- Helps maintain the shape of the boot
VS.
- Improper lacing can lead to discomfort and blisters
- Loose lacing can cause the boot to lose its shape over time
Step 3: Continue Lacing
Continue lacing your boots by crossing the left lace over the right and inserting it into the next eyelet on the right side. Repeat this process until you reach the top of the boot.
Benefits of Properly Lacing Your Boots:
- Provides a comfortable and secure fit
- Prevents the boot from slipping or sliding
VS.
- Improper lacing can cause discomfort and blisters
- Loose lacing can cause the boot to lose its shape over time
Step 4: Tie the Laces
Once you have laced your boots, tie the laces in a double knot to ensure they stay in place. Make sure the knot is tight but not too tight, as this can cause discomfort.
Benefits of Properly Tying Your Laces:
- Keeps the laces in place
- Prevents the boots from slipping or sliding
- Provides a comfortable fit
VS.
- Improperly tying your laces can cause discomfort and blisters
- Loose laces can cause the boots to slip or slide
Step 5: Adjust the Laces
After tying your laces, adjust them to ensure a comfortable fit. Make sure the laces are not too tight or too loose. You should be able to move your toes freely without feeling cramped, but the boot should not slip or slide.
Benefits of Properly Adjusting Your Laces:
- Provides a comfortable fit
- Prevents blisters and discomfort
- Ensures the boots stay in place
VS.
- Improperly adjusted laces can cause discomfort and blisters
- Loose laces can cause the boots to slip or slide
Step 6: Maintain Your Laces
To ensure your laces last as long as possible, it’s important to maintain them. Clean your laces regularly with a mild detergent and warm water. Allow them to air dry before re-lacing your boots.
Benefits of Properly Maintaining Your Laces:
- Longevity of the laces
- Maintains the appearance of the laces
- Prevents the laces from breaking or fraying
VS.
- Failure to maintain your laces can cause them to break or fray
- Dirty laces can cause discomfort and blisters
Step 7: Try Different Lacing Techniques
There are many different lacing techniques you can try to achieve a specific fit or style. Some popular techniques include the straight bar lacing, crisscross lacing, and ladder lacing.
Benefits of Trying Different Lacing Techniques:
- Allows you to achieve a custom fit
- Gives your boots a unique look
- Can improve the comfort of your boots
VS.
- Improper lacing techniques can cause discomfort and blisters
- Some lacing techniques may not provide a secure fit
Step 8: Replace Your Laces When Needed
Over time, your laces may become worn or frayed. When this happens, it’s important to replace them. Make sure to choose laces that are the same length and material as the original ones.
Benefits of Replacing Your Laces:
- Ensures a secure fit
- Prevents discomfort and blisters
- Keeps the boots in good condition
VS.
- Worn laces can cause discomfort and blisters
- Broken laces can cause the boots to slip or slide
Step 9: Store Your Boots Properly
To maintain the shape and condition of your Justin Boots, it’s important to store them properly. Keep them in a cool, dry place away from direct sunlight. Stuff the boots with newspaper or a shoe tree to help them keep their shape.
Benefits of Properly Storing Your Boots:
- Maintains the shape of the boots
- Prevents damage to the boots
- Keeps the boots looking new
VS.
- Improper storage can cause the boots to lose their shape
- Exposure to sunlight can cause the boots to fade or discolor
Step 10: Conclusion
Properly lacing your Justin Boots is important for achieving a comfortable and secure fit. Choosing the right laces, lacing your boots correctly, and maintaining them properly can help prevent blisters and discomfort. By following these steps, you can enjoy your Justin Boots for years to come.
Frequently Asked Questions
What are Justin Boots?
Justin Boots is a brand of Western-style footwear that has been around since 1879. They specialize in handcrafted boots that are made from high-quality materials such as leather, and they are known for their durability and comfort. Justin Boots come in a variety of styles and designs, including traditional cowboy boots, work boots, and casual boots.
In addition to their boots, Justin Boots also offers a range of accessories such as belts, wallets, and hats. They are a popular choice among rodeo riders, ranchers, and Western enthusiasts.
How do I choose the right size for my Justin Boots?
Choosing the right size for your Justin Boots is crucial to ensure a comfortable fit. The best way to determine your size is to measure your feet and refer to the Justin Boots size chart. When measuring your feet, make sure to do so at the end of the day when your feet are at their largest.
It’s also important to consider the type of socks you will be wearing with your boots, as thicker socks may require a slightly larger size. If you are unsure about your size, it’s always a good idea to try on different sizes and styles in person to find the best fit for you.
What is the proper way to break in Justin Boots?
Breaking in a new pair of Justin Boots can be a bit uncomfortable at first, but it’s important to do so to ensure a comfortable fit in the long run. The best way to break in your boots is to wear them for short periods of time at first, gradually increasing the amount of time you wear them each day.
To speed up the process, you can also try wearing your boots with thick socks and using a leather conditioner to soften the leather. Be sure to avoid getting your boots wet during the breaking-in period, as this can damage the leather.
How do I care for my Justin Boots?
Proper care is essential to keep your Justin Boots looking and feeling their best. To clean your boots, use a soft-bristled brush to remove any dirt or dust, then wipe them down with a damp cloth. Avoid using harsh chemicals or abrasive materials that can damage the leather.
To protect the leather, apply a high-quality leather conditioner regularly. This will help keep the leather soft and supple, and prevent it from drying out and cracking. It’s also a good idea to store your boots in a cool, dry place away from direct sunlight to prevent fading and damage.
What is the best way to lace Justin Boots?
There are several ways to lace Justin Boots, but the most common method is the traditional criss-cross lacing. To do this, start by threading the laces through the bottom eyelets on each side of the boot, then cross them over and thread them through the next set of eyelets up.
Continue lacing the boots in this criss-cross pattern until you reach the top, then tie the laces securely. Make sure the laces are snug but not too tight, and adjust them as needed for a comfortable fit. It’s also important to make sure the laces are tied securely to prevent them from coming undone while you’re wearing your boots.
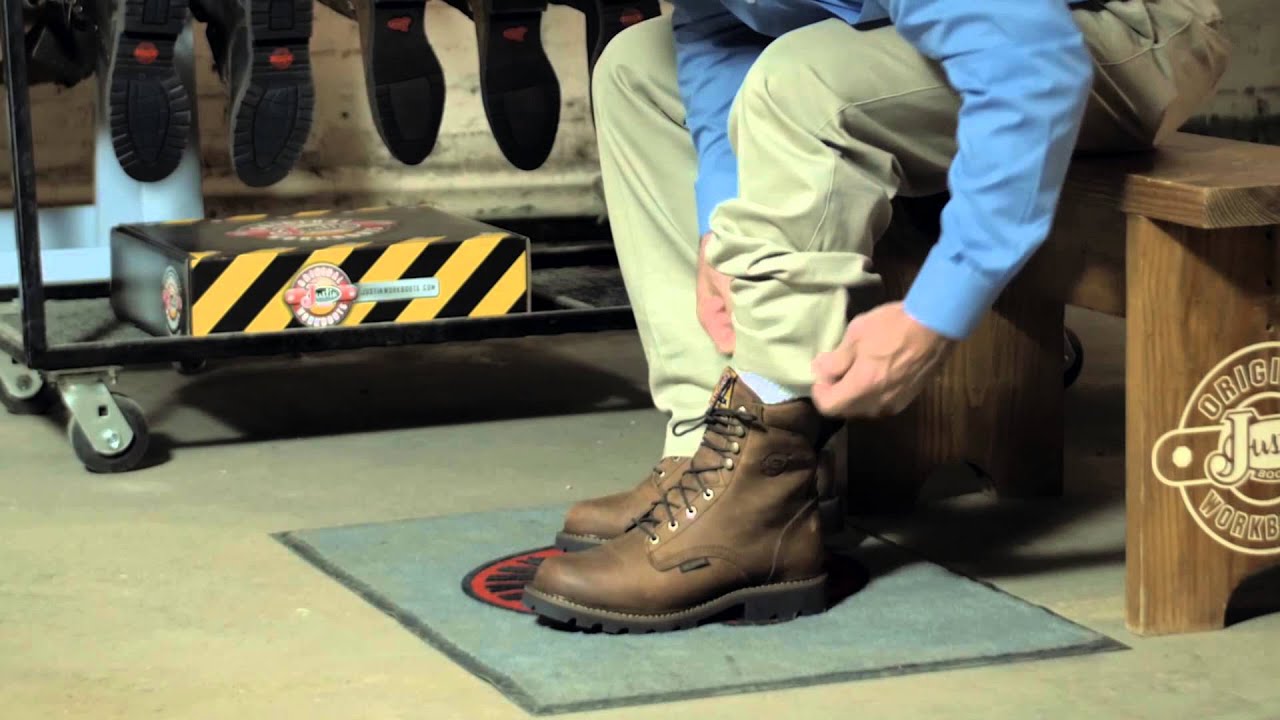
How to Fit Your Lace-Up Justin Original Workboots
In conclusion, lacing your Justin boots may seem like a daunting task, but it’s actually quite simple once you get the hang of it. By following the steps outlined in this guide, you’ll be able to lace your boots properly and ensure a comfortable and secure fit.
Remember to take your time and adjust the laces as needed to find the perfect fit for your foot. And don’t be afraid to experiment with different lacing techniques to find the style that works best for you.
With a little practice and patience, lacing your Justin boots will become second nature, and you’ll be ready to hit the trails or the dance floor in style and comfort. So go ahead and give it a try – your feet will thank you!