
If you’ve ever purchased a pair of Adidas shoes, you know that they come with laces that are both stylish and functional. But, if you’re like many people, you may not know the best way to put them in and make sure they stay in place. Fortunately, it doesn’t have to be complicated – this guide will provide you with step-by-step instructions on how to put Adidas shoe laces so you can look your best in your new shoes!
How to Put Adidas Shoe Laces:
- Lay the laces on a flat surface. Make sure that the laces are the correct length for the shoes.
- Put the shoes on the ground and open the lacing eyelets.
- Start from the bottom and put the laces in the first eyelet from the back of the shoe.
- Continue lacing up the shoe, making sure to keep the laces tight.
- Tie the laces in a bow at the top of the shoe.
How to Lace Up Adidas Shoes
Having the correct lacing pattern for your Adidas shoes is essential for a secure and comfortable fit. Whether you’re tying up a pair of Adidas running shoes or a pair of high-tops, the method for lacing up your shoes is the same. Lacing up your shoes correctly can help prevent them from slipping off your feet as you walk and run, giving you the confidence to perform at your best.
Step 1: Begin With the Shoes on Your Feet
Put your Adidas shoes on your feet, making sure they are snug but not too tight. You should be able to fit a finger between the back of your heel and the shoe. This will ensure that your shoes fit correctly and that you’re not causing any discomfort to your feet. Once you’re sure the shoes are on correctly, you can begin to lace them up.
Step 2: Insert the Laces
Insert the laces through the first pair of eyelets at the top of the shoe. Make sure that the laces are even on each side and that they’re not twisted. Pull the laces through the eyelets and then tie a knot at the end of both laces. This will keep the laces in place and make it easier to lace up the shoes.
Step 3: Begin the Criss-Cross Pattern
Now that the laces are inserted, you can begin to create the criss-cross pattern. Take the left lace and thread it through the second eyelet from the top on the right side of the shoe. Then take the right lace and thread it through the second eyelet from the top on the left side of the shoe. Pull the laces tight and make sure they’re not twisted.
Step 4: Continue the Criss-Cross Pattern
Continue the criss-cross pattern, repeating the steps outlined in Step 3. You should be able to do this until you reach the bottom of the shoe. Make sure that the laces are pulled tight, but not too tight, so that the shoes fit snugly but comfortably.
Step 5: Tie the Laces
Once you’ve reached the bottom of the shoe, tie the laces in a secure knot to keep them in place. Make sure the knot is tight so that the laces won’t come undone as you walk and run.
Step 6: Double Knot the Laces
To ensure the laces remain secure, double knot the laces at the end. This will make it less likely that the laces will come undone during physical activity.
Step 7: Trim the Laces
Once the laces are tied securely, you can trim the ends of the laces to the desired length. This will make the laces more aesthetically pleasing and will help keep them from fraying.
Step 8: Enjoy Your Adidas Shoes
Now that your laces are tied securely, you can enjoy your Adidas shoes with the perfect fit. Whether you’re running, walking, or just going about your daily activities, your shoes will stay secure and comfortable.
Related Faq
Q1. What Tools Do I Need to Put Adidas Shoe Laces?
A1. To put Adidas shoe laces, you will need a pair of scissors, a lighter, and the laces themselves. The scissors are necessary to cut the laces to the desired length, while the lighter is used to seal the ends of the laces to prevent fraying. It is important to make sure the laces are of the correct size before beginning, as the wrong size can make it difficult to lace up the shoes properly.
Q2. What Is the Best Method to Put Adidas Shoe Laces?
A2. The best method to put Adidas shoe laces is to start by threading the lace through the bottom eyelets, starting from the inside of the shoe and working your way out. Once this is done, you will then need to alternate between the top and bottom eyelets, making sure to keep the laces even and tight. Finally, tie the laces in a bow at the top of the shoe.
Q3. What Are the Different Types of Adidas Shoelace Knots?
A3. There are three main types of Adidas shoelace knots: the basic knot, the half-bow knot, and the loop knot. The basic knot is a secure knot that is easy to tie; the half-bow knot provides additional security and is a bit more difficult to tie; finally, the loop knot provides the most secure knot and is the most difficult to tie.
Q4. How Do I Ensure My Adidas Shoelace Knots Remain Secure?
A4. To ensure your Adidas shoelace knots remain secure, it is important to tie them tightly, as well as to double knot them. Additionally, using a knot that is designed specifically for your type of shoe (such as the half-bow knot or the loop knot) can provide additional security.
Q5. How Do I Choose the Right Length of Adidas Shoelace?
A5. When choosing the right length of Adidas shoelace, you should take into account the size of your foot and the size of the eyelets on your shoes. Generally speaking, the laces should be long enough to make a double knot at the top of the shoe, but not so long that they become too loose.
Q6. How Do I Prevent Fraying of My Adidas Shoelaces?
A6. To prevent fraying of your Adidas shoelaces, it is important to seal the ends of the laces with a lighter. This will not only prevent fraying, but will also help to make the laces more durable. Additionally, it is important to make sure the laces are of the correct size, as too long laces can cause the ends to rub against the ground and fray more quickly.
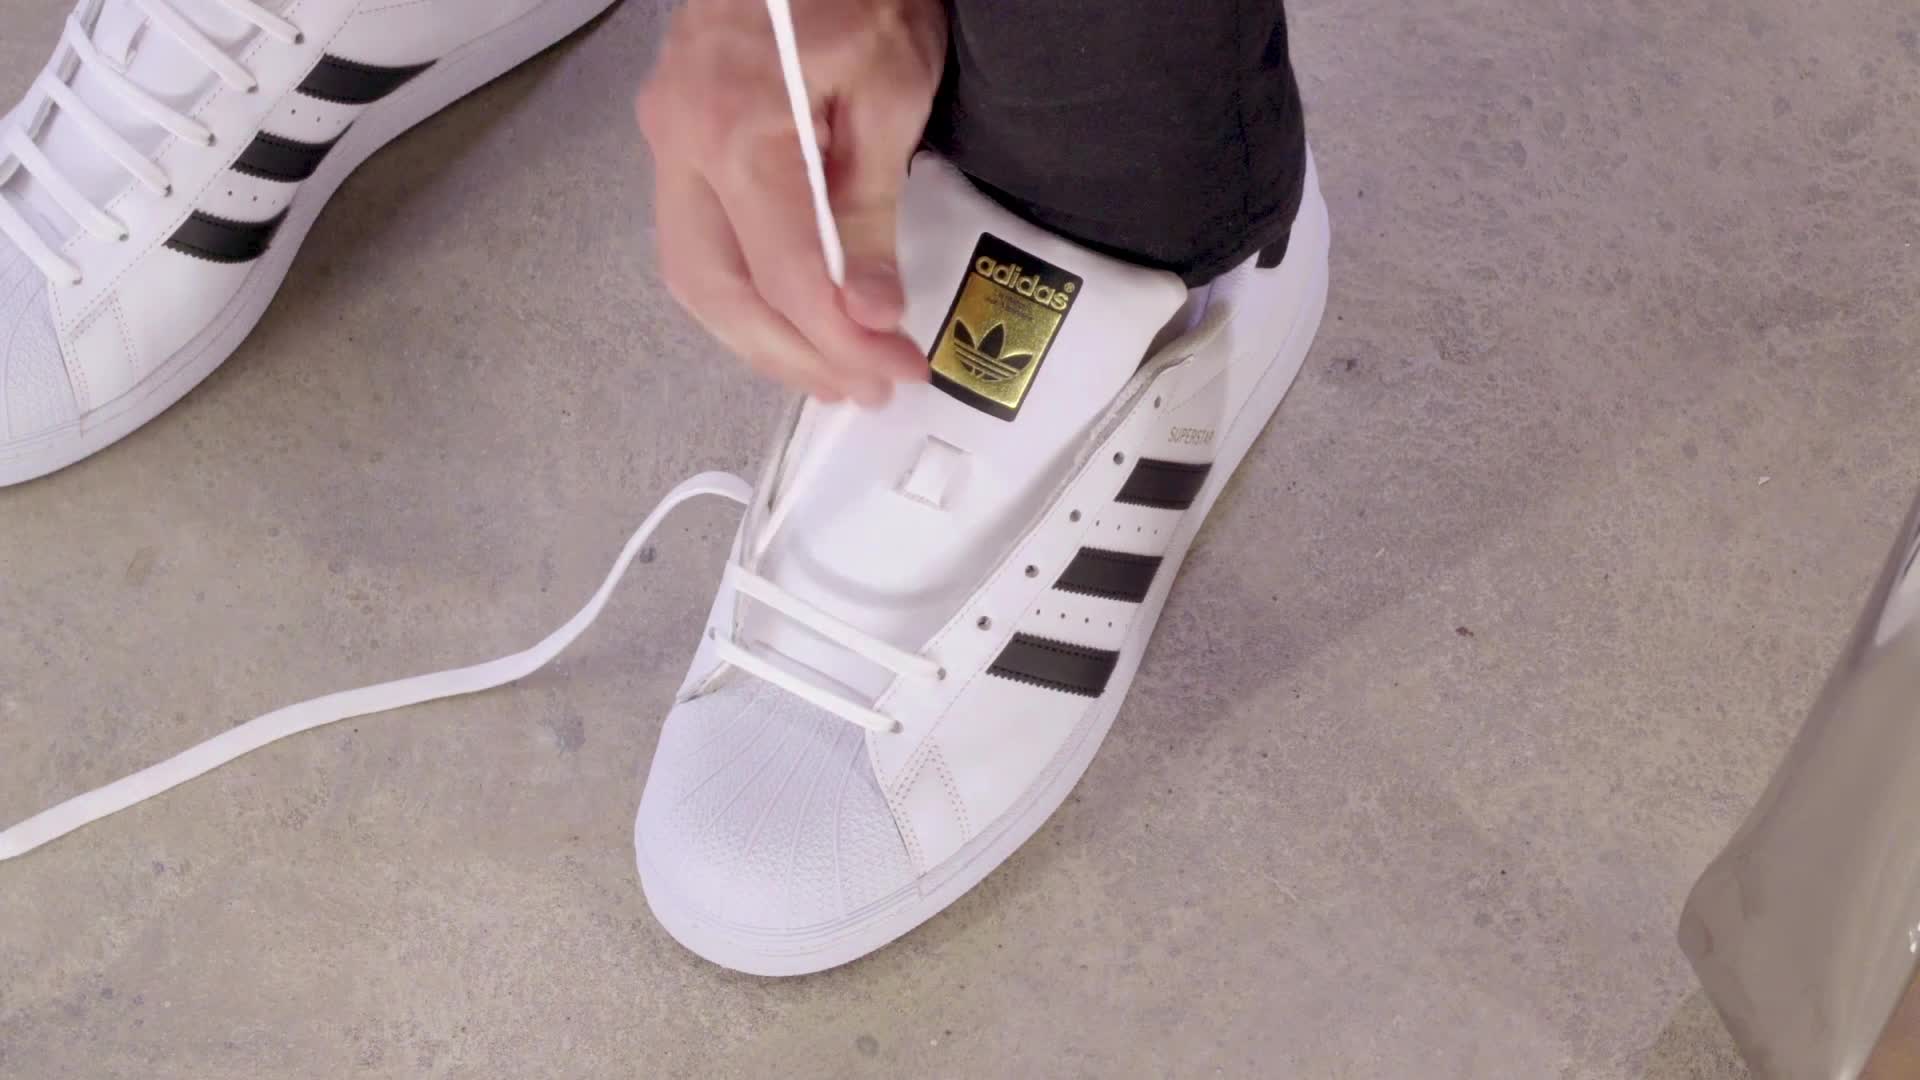
How To Put Laces To Adidas Superstar | This is how i lace up sneakers
Putting Adidas shoe laces may seem like a daunting task, but with the right tools and a little know-how, you can easily lace up your shoes and be ready to take on your day! With the right tips, tricks, and techniques, you can make sure that your Adidas shoes fit perfectly and look great. Whether you’re looking to upgrade your style or just learn the basics, following these simple steps can help you put Adidas shoe laces with confidence. Now you can show off your shoes with pride, knowing that you did it yourself!