
Are your Timberland boots looking a little worse for wear? Do you want to save them from the landfill and give them new life? Refurbishing your Timberland boots is easier than you might think! With a little elbow grease and some basic supplies, you can have your favorite boots looking like new again in no time.
In this article, we’ll walk you through the steps to restore your Timberland boots to their former glory. Whether they’re scuffed, stained, or just worn out, we’ve got you covered. So grab your boots and let’s get started!
- Clean the boots thoroughly with a soft brush and mild soap. Rinse and let them dry completely.
- Apply a leather conditioner to moisturize the boots and prevent cracking. Let it sit for 15 minutes before wiping off the excess.
- Use a suede brush to revive the nubuck parts of the boots.
- Use a waterproofing spray to protect the boots from the elements.
- Replace worn out laces with new ones.
Refurbishing Your Timberland Boots: A Comprehensive Guide
If you’re an avid Timberland boots wearer, you know how important it is to take care of your boots to ensure they last for years to come. Refurbishing your Timberland boots is a great way to keep them looking and feeling as good as new, without having to spend money on a brand new pair.
Step 1: Gather Your Materials
Before you start refurbishing your Timberland boots, you’ll need to gather the necessary materials. You’ll need a soft-bristled brush, a suede brush, a suede eraser, a leather conditioner, a waterproof spray, and a cloth.
To start, remove any dirt or debris from the boots using the soft-bristled brush. Next, use the suede brush to gently remove any stains or marks from the suede portions of the boots. If there are any tough stains, use the suede eraser to gently remove them.
Step 2: Clean the Boots
Once you’ve removed any stains or marks from the boots, it’s time to clean them. To do this, mix a small amount of mild soap with water and use a cloth to gently clean the boots. Make sure to avoid getting too much water on the boots, as this can damage the suede or leather.
After cleaning the boots, use a clean cloth to dry them off. Make sure to let them air dry completely before moving on to the next step.
Step 3: Condition the Leather
Now that the boots are clean and dry, it’s time to condition the leather. Apply a small amount of leather conditioner to a clean cloth and rub it onto the leather portions of the boots. Make sure to apply the conditioner evenly and let it soak in for a few minutes.
After the conditioner has soaked in, use a clean cloth to wipe away any excess. This will help to keep the leather soft and supple, and prevent it from cracking or drying out.
Step 4: Waterproof the Boots
To protect your Timberland boots from the elements, it’s important to waterproof them. Use a waterproof spray specifically designed for suede and leather to spray the boots evenly. Make sure to follow the instructions on the spray can and let the boots dry completely before wearing them.
Step 5: Replace the Laces
If your Timberland boots have laces that are worn or frayed, it’s a good idea to replace them. This will not only improve the appearance of the boots but also ensure that they stay securely on your feet.
To replace the laces, simply remove the old laces and thread the new laces through the eyelets of the boots. Make sure to tie the laces tightly to ensure a secure fit.
Step 6: Repair Any Damage
If your Timberland boots have any damage, such as scuffs or tears, it’s important to repair them before they get worse. You can use a leather patch kit to repair any tears or holes in the leather portions of the boots.
For scuffs or marks on the suede portions of the boots, use a suede brush to gently buff them out. If the scuffs or marks are particularly stubborn, you can use a suede eraser to gently remove them.
Step 7: Store Your Boots Properly
To ensure that your Timberland boots last for years to come, it’s important to store them properly. Store them in a cool, dry place, away from direct sunlight or heat sources.
Before storing them, make sure to clean and condition them, and apply a waterproof spray if necessary. This will help to keep them in good condition and prevent any damage from occurring.
Step 8: Benefits of Refurbishing Your Timberland Boots
Refurbishing your Timberland boots has several benefits. Firstly, it can save you money by extending the life of your boots, so you don’t have to buy a new pair. Secondly, it can improve the appearance of your boots and make them look as good as new. Finally, it can help to protect your boots from the elements, ensuring that they stay in good condition for years to come.
Step 9: Refurbishing Your Timberland Boots Vs Buying a New Pair
When it comes to refurbishing your Timberland boots versus buying a new pair, there are several factors to consider. Firstly, refurbishing your boots can save you money, as it’s often cheaper than buying a new pair. Secondly, refurbishing your boots can help to reduce waste and is a more sustainable option. Finally, refurbishing your boots can help to improve their overall quality and extend their lifespan.
Step 10: Conclusion
Refurbishing your Timberland boots is a great way to keep them looking and feeling as good as new, without having to spend money on a brand new pair. By following these simple steps, you can extend the life of your boots, improve their appearance, and protect them from the elements. So why not give it a try today and see the difference for yourself?
Freequently Asked Questions
Timberland boots are a popular choice for people who want a durable and stylish pair of shoes. However, after a while, they can start to look worn out and lose their shine. Here are some frequently asked questions about how to refurbish Timberland boots.
1. How do I clean Timberland boots?
The first step to refurbishing your Timberland boots is to clean them. Use a soft-bristled brush to remove any loose dirt or debris. Next, mix a small amount of mild soap with warm water and gently scrub the boots with a sponge or cloth. Rinse the boots with clean water and let them air dry.
If your boots are made of suede or nubuck, use a suede brush to remove any dirt or stains. Avoid using water on these materials as it can damage them. Instead, use a suede eraser to remove any scuffs or stains.
2. How do I remove scuff marks from Timberland boots?
Scuff marks can make your Timberland boots look worn out and old. To remove them, you can use a pencil eraser or a suede eraser. Gently rub the eraser over the scuff mark until it starts to fade. For deeper scuff marks, you can use a suede brush to gently buff the area.
If your boots are made of leather, you can use a leather cleaner or conditioner to remove scuff marks. Apply the cleaner or conditioner to a cloth and rub it into the scuff mark in a circular motion. Wipe away any excess cleaner or conditioner with a clean cloth.
3. How do I restore the color of my Timberland boots?
If your Timberland boots have lost their color or have faded, you can use a leather dye or shoe polish to restore them. Choose a dye or polish that matches the color of your boots and apply it evenly with a brush or cloth. Let the dye or polish dry completely before wearing the boots.
If your boots are made of suede or nubuck, you can use a suede dye or spray to restore the color. Follow the instructions on the dye or spray carefully to avoid damaging the material.
4. How do I waterproof my Timberland boots?
Timberland boots are known for their durability and waterproofing. However, over time, the waterproofing may wear off. To restore the waterproofing of your boots, you can use a waterproofing spray or wax. Apply the spray or wax evenly to the boots and let them dry completely before wearing them.
If your boots are made of suede or nubuck, use a suede waterproofing spray. Be sure to follow the instructions on the spray carefully to avoid damaging the material.
5. How often should I refurbish my Timberland boots?
The frequency of refurbishing your Timberland boots depends on how often you wear them and the conditions in which you wear them. If you wear your boots frequently in harsh weather conditions, you may need to refurbish them more often. As a general rule, you should refurbish your Timberland boots at least once a year to keep them looking their best.
Regular cleaning and maintenance can also help prolong the life of your Timberland boots. Be sure to store them in a cool, dry place and avoid exposing them to extreme temperatures or sunlight.
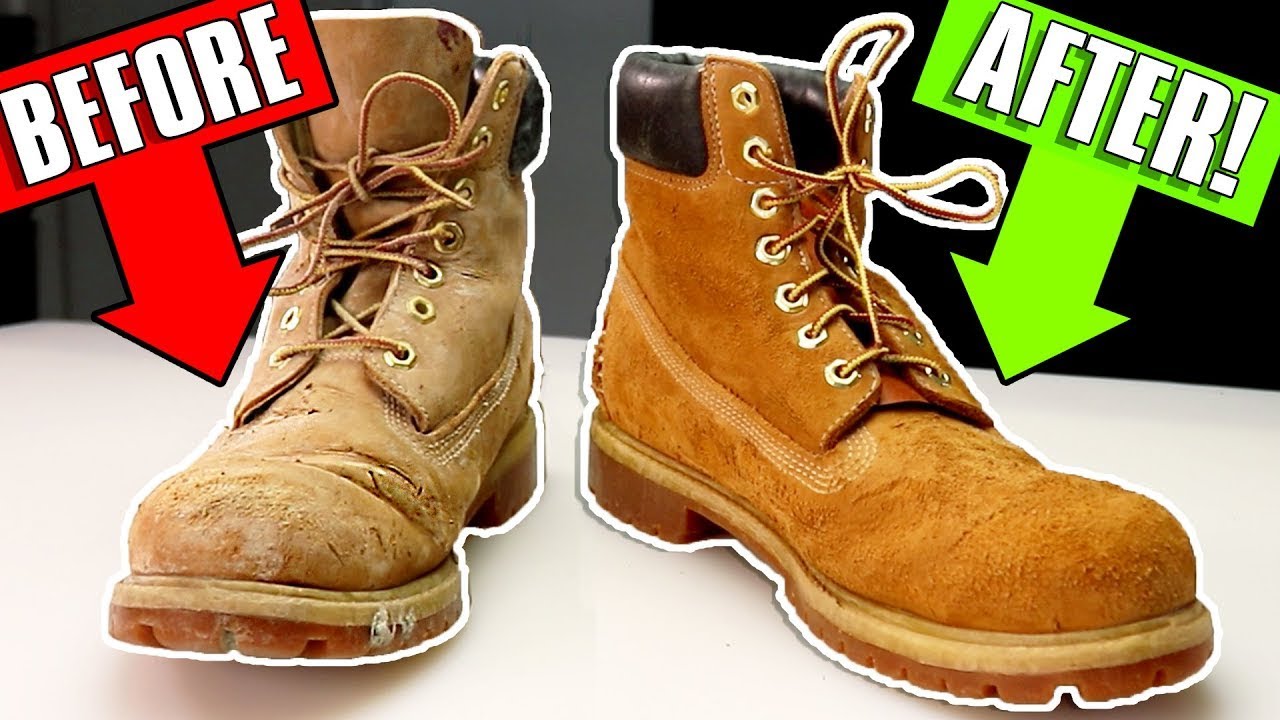
Fixing the DIRTIEST Timberlands of ALL TIME -DRE THESHOEGOD
In conclusion, refurbishing your Timberland boots is a great way to extend their lifespan and keep them looking as good as new. With a few simple steps, you can clean, condition, and protect your boots, restoring them to their former glory.
Remember to start by removing any dirt and debris from the boots, then apply a high-quality leather conditioner to keep the leather soft and supple. Finally, protect your boots against moisture and stains with a waterproofing spray.
By taking the time to refurbish your Timberland boots, you can ensure that they will last for years to come, providing you with comfort, durability, and style. So why not give it a try and see the difference for yourself? Your boots will thank you for it!