
Are you looking for an easy and effective way to remove the insoles from your Skechers? If so, you’ve come to the right place! In this article, we’ll explain exactly how to remove insoles from Skechers quickly and safely. With our simple tips and tricks, you’ll be able to remove your insoles with ease and get on with your day. So let’s get started!
Removing insoles from Skechers shoes is a simple process. All you need is a flathead screwdriver and a few minutes of your time.
- Start by loosening the laces on the shoe and removing them.
- Using a flathead screwdriver, carefully pry up the edges of the insole until it lifts out of the shoe.
- Once the insole is out, inspect it for dirt or debris and clean it off if necessary.
- Finally, replace the insole in the shoe and re-tie the laces.
Steps to Remove Insoles from Skechers Shoes
Removing insoles from your Skechers shoes can be done easily and quickly. It is a great way to keep your shoes clean, as well as to prevent dirt and debris from getting into the insole and damaging them. This article will explain the steps to remove insoles from Skechers shoes safely.
The first step is to locate the insole of the Skechers shoes. The insole should be located near the heel of the shoe, and it should be a thin piece of fabric or foam material. Once the insole has been located, it is time to begin the process of removing it.
The next step is to remove the laces from the shoes. This can be done by either untying the laces or by cutting them off with scissors. Once the laces have been removed, the insoles can be easily pulled out from inside the shoe.
Removing the Insoles from the Shoe
The next step is to remove the insoles from the shoe. It is important to be careful when removing the insoles so that they do not tear or become damaged. To remove the insoles, use your fingers to pull them away from the sides of the shoe.
Once the insoles have been removed, they should be rinsed off with warm water to remove any dirt or debris that may have accumulated on them. After rinsing the insoles, they should be dried off and set aside until ready for use.
Cleaning the Insoles
Once the insoles have been removed from the shoes, they should be cleaned with a soft cloth and warm water. This will help to remove any dirt or debris that may have accumulated on the insoles. After the insoles have been cleaned, they should be dried off and set aside until ready for use.
Reinstalling the Insoles
The final step is to reinstall the insoles into the shoes. Start by positioning the insoles inside the shoes, making sure they are securely in place. Once the insoles are in place, tie the laces back onto the shoe. This will help to keep the insoles securely in place and will help to prevent them from slipping out of the shoes.
Maintenance of Insoles
Once the insoles have been reinstalled into the shoes, it is important to maintain them to keep them in good condition. This can be done by making sure the insoles are kept clean and free of dirt and debris. The insoles should also be inspected regularly for any signs of wear or tear.
Replacing the Insoles
If the insoles become worn or torn, they should be replaced as soon as possible. This will help to ensure that the insoles are providing the necessary support and cushioning for the feet. It is also important to replace the insoles regularly to ensure that they are providing the best possible support for the feet.
Frequently Asked Questions
Q1: What are skechers?
A1: Skechers is an American lifestyle and performance footwear brand. They are known for their stylish, comfortable, and lightweight designs that are suitable for everyday wear. Skechers shoes come in a variety of styles, from athletic shoes to casual and dress shoes. They also offer a wide range of accessories, including insoles and arch supports.
Q2: What are insoles?
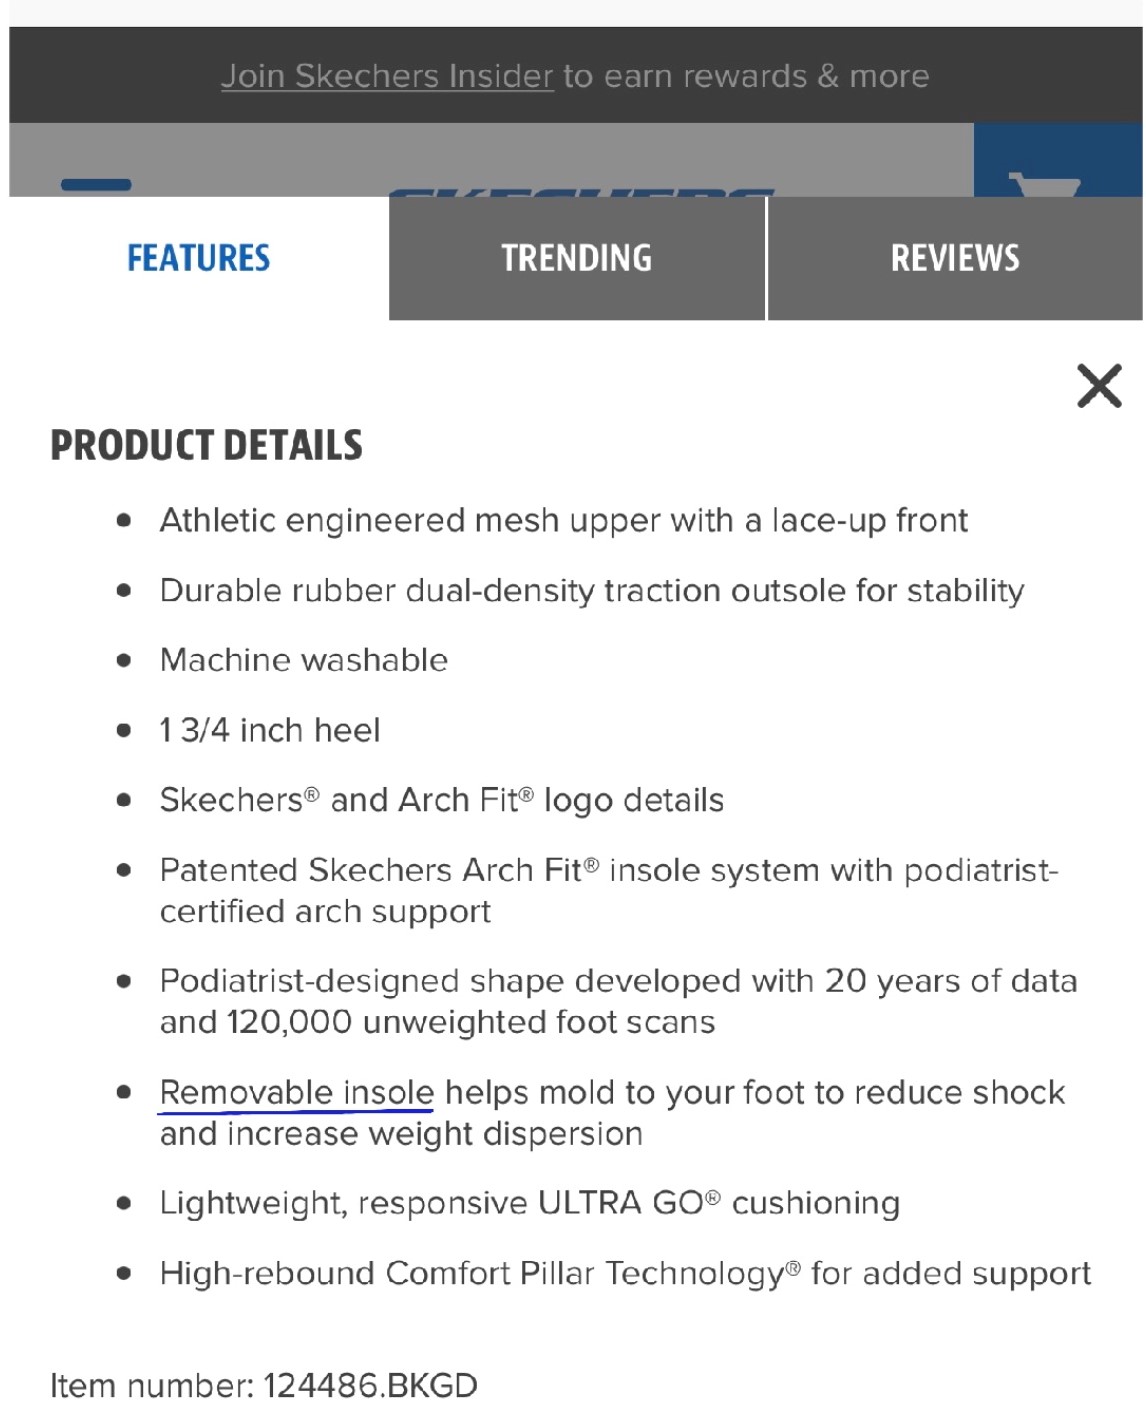
A2: Insoles are removable inserts that are placed inside a shoe to provide extra cushioning and support. Skechers insoles are designed to provide additional arch support, reduce impact, and improve the overall fit and comfort of the shoe. They are made of cushioned foam and other materials to provide a comfortable and supportive fit.
Q3: Why should I remove insoles from Skechers?
A3: Removing insoles from Skechers shoes can help to extend the life of the shoe. Over time, the insoles can become compressed and worn down, reducing the amount of cushioning and support they provide. Removing the insoles and replacing them with new ones can help to keep your Skechers shoes feeling comfortable and supportive for longer.
Q4: How do I remove insoles from Skechers?
A4: To remove insoles from Skechers shoes, first remove the laces. Then, use your fingers to pull up on the back of the insole and gently pull it out of the shoe. Be sure to support the heel of the insole as you pull it out to prevent it from tearing or becoming damaged.
Q5: Can I replace the insoles in my Skechers?
A5: Yes, you can replace the insoles in your Skechers shoes. To do so, purchase a new pair of replacement insoles that are the same size and shape as the original ones. Then, insert the new insoles into the shoes and lace them up.
Q6: How do I know when it’s time to replace my Skechers insoles?
A6: You should consider replacing your Skechers insoles when they start to feel uncomfortable, or when you notice that they have lost their cushioning and support. Additionally, if the insoles become worn down or have visible signs of wear, it’s time to replace them. Finally, you should also consider replacing your insoles at least once a year to ensure your feet stay comfortable and supported.
Can Skechers insoles be removed?
Removing insoles from Skechers is a simple process that can be done in just a few steps. With the right tools and a bit of patience, you can easily take out the insoles and replace them with new ones. Doing this will help keep your shoes in good condition and allow you to enjoy them for a longer period of time. So, the next time you need to remove insoles from Skechers shoes, you know exactly how to do it.