
Do you love your Under Armour shoes but find yourself in a sticky situation with a loose stitch? Don’t worry, because I’ve got you covered! In this article, I’ll show you how to stitch your Under Armour shoes like a pro, so you can get back to strutting your stuff in no time. Whether you’re a DIY enthusiast or just looking to save some money on shoe repairs, this step-by-step guide will equip you with the skills to fix those unraveled threads and give your shoes a new lease on life. So, grab your needle and thread, and let’s get stitching!
Before we dive into the nitty-gritty of stitching your Under Armour shoes, let me assure you that it’s easier than you might think. With a few simple tools and some basic sewing techniques, you’ll be able to mend those pesky loose stitches and prevent them from unraveling further. Whether it’s a loose seam or a popped stitch, I’ll walk you through the process with clear instructions and helpful tips along the way. So, if you’re ready to become a shoe repair aficionado and unleash your inner seamstress or seamster, let’s jump right in and learn how to stitch your Under Armour shoes!
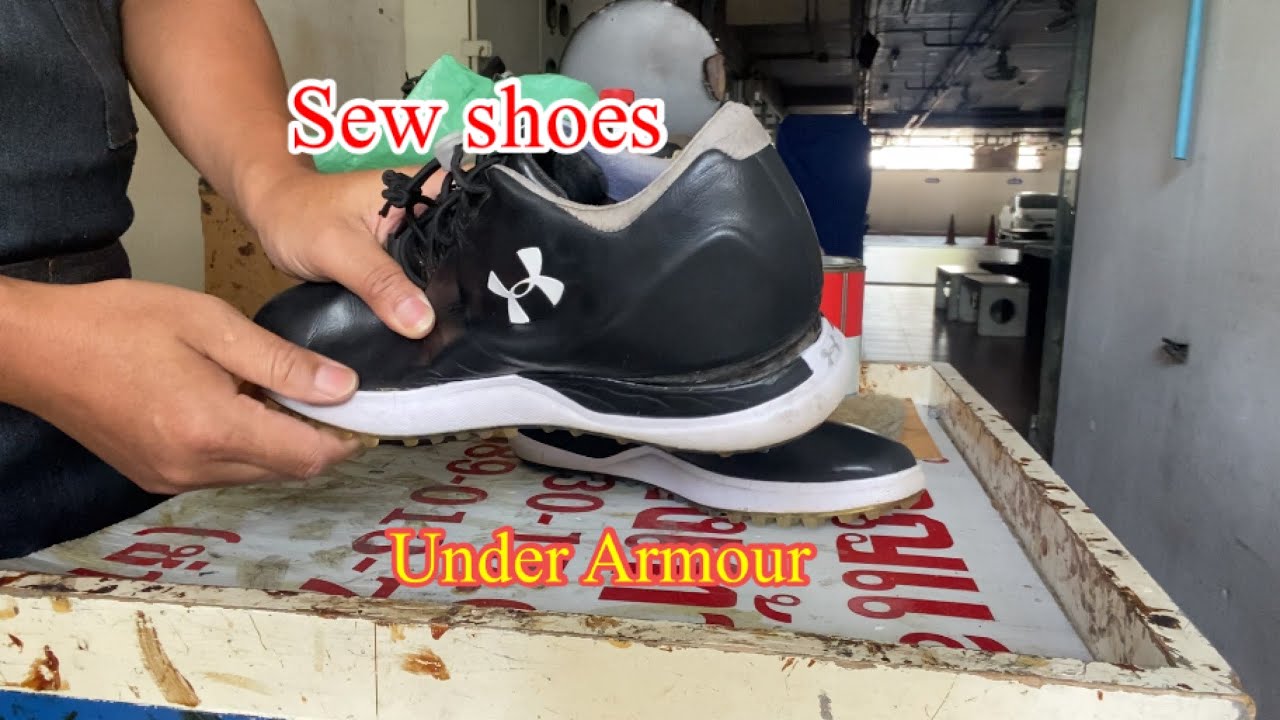
How to Stitch Under Armour Shoes?
Step-by-step tutorial:
- Gather the necessary materials: needle, thread, and Under Armour shoes.
- Identify the area that needs stitching.
- Thread the needle, making sure it’s secure.
- Start stitching from one end to the other, using small, even stitches.
- Tie a knot at the end to secure the stitching.
Stitching your Under Armour shoes can help prolong their lifespan and prevent further damage. Remember to take your time and be careful when stitching to ensure a neat and secure finish. Happy stitching!
How to Stitch Under Armour Shoes: A Step-by-Step Guide
Under Armour shoes are known for their durability and performance on the athletic field. However, even the best shoes can sometimes suffer from wear and tear, including stitching that comes undone. Instead of throwing away your favorite pair of Under Armour shoes, why not learn how to stitch them yourself? In this article, we will provide you with a step-by-step guide on how to stitch Under Armour shoes, saving you money and extending the life of your footwear.
Gather the Necessary Materials
Before you begin stitching your Under Armour shoes, it’s important to gather all the necessary materials. You will need a needle, strong thread, scissors, a thimble (optional), and a pair of pliers. The needle should be thin and sharp, allowing it to pass through the fabric easily. The thread should be strong enough to withstand the rigors of daily use. Additionally, it’s a good idea to choose a thread color that matches the original stitching of your shoes for a seamless finish.
Step 1: Assess the Damage
The first step in stitching your Under Armour shoes is to assess the damage. Examine the area where the stitching has come undone and determine the extent of the repair needed. If the thread has completely unraveled, you may need to remove the remaining loose threads before proceeding. Use the pliers to carefully pull out any loose threads, being careful not to damage the surrounding fabric.
Step 2: Thread the Needle
Once you have assessed the damage, it’s time to thread the needle. Cut a piece of thread that is approximately twice the length of the area you need to stitch. Thread one end of the thread through the eye of the needle, leaving a tail on the other end for tying knots later on. If you find it difficult to thread the needle, you can use a thimble to protect your fingers and provide better grip.
Repairing the Stitching
Now that you have gathered your materials and assessed the damage, it’s time to repair the stitching on your Under Armour shoes. Follow these steps to ensure a secure and professional-looking repair:
Step 3: Start Stitching
Begin stitching by inserting the needle from the inside of the shoe, bringing it up through the first stitch hole. Pull the thread through, leaving a small tail on the inside of the shoe. Insert the needle back through the next stitch hole, creating a loop on the outside of the shoe. Repeat this process, creating a running stitch along the entire length of the area that needs repair.
Step 4: Tie Knots
Once you have completed the running stitch, it’s time to tie knots to secure the thread. Insert the needle under the last stitch on the inside of the shoe, creating a loop. Pass the needle through the loop, pulling tight to create a knot. Repeat this process two or three times to ensure the knot is secure. Trim any excess thread, leaving a small tail.
Finishing Touches
With the stitching complete, it’s time to add the finishing touches to your repaired Under Armour shoes. Follow these steps for a professional finish:
Step 5: Hide Knots
To hide the knots and prevent them from rubbing against your foot, insert the needle between the layers of fabric and pull it out a short distance away. Trim the excess thread close to the fabric, making sure not to cut the stitches. This will hide the knots and create a neat finish.
Step 6: Test the Repair
Before you lace up your newly repaired Under Armour shoes, it’s important to test the repair. Walk around in your shoes and put them through their paces to ensure that the stitching holds up. If you notice any issues or areas that need further reinforcement, repeat the stitching process as necessary.
In conclusion, learning how to stitch Under Armour shoes can save you money and prolong the life of your favorite footwear. By following these steps and using the right materials, you can achieve a professional-looking repair that will keep your shoes in top shape. Remember to take your time and be patient, as stitching can be a delicate process. With a little practice, you’ll become a pro at repairing your own shoes and enjoying them for years to come.
Key Takeaways: How to Stitch Under Armour Shoes?
- Start by gathering the necessary materials like a needle, thread, and scissors.
- Prepare the area by cleaning and drying the shoe, ensuring a smooth stitching process.
- Thread the needle with a strong and durable thread, such as nylon or polyester.
- Use a basic stitch, like the running stitch, to sew any loose or damaged parts of the shoe.
- Finish off the stitching by tying a knot and trimming any excess thread.
Frequently Asked Questions:
1. Can I stitch Under Armour shoes at home?
Yes, you can stitch Under Armour shoes at home with the right tools and techniques. Here’s how you can do it:
First, gather the necessary materials including a needle, thread, and any other tools specific to the shoe stitching process. Make sure to choose a strong thread that matches the color of your shoes. Next, identify the area of the shoe that needs stitching. It could be a loose seam or a torn section.
2. What type of stitch should I use for Under Armour shoes?
For stitching Under Armour shoes, it is recommended to use a backstitch or a whipstitch. These stitches provide durability and strength to the repaired area. To use the backstitch, start by inserting the needle from the inside of the shoe and bring it out through the fabric. Then, insert the needle back into the fabric a short distance away and bring it out through the fabric again. Repeat this process until the desired area is stitched.
If you prefer the whipstitch, start by inserting the needle from the inside of the shoe and bring it out through the fabric. Then, insert the needle back into the fabric diagonally and bring it out through the fabric again. Repeat this diagonal motion until the area is fully stitched.
3. What should I do if I don’t have sewing experience?
If you don’t have sewing experience, stitching Under Armour shoes can still be possible with some practice and patience. Here are a few tips to help you get started:
First, familiarize yourself with basic sewing techniques by watching online tutorials or reading sewing guides. Start with simple sewing projects to build your confidence. Practice stitching on scrap fabric before working on your shoes. Take your time and be patient with yourself. Remember, practice makes perfect, and with time, you’ll improve your stitching skills.
4. Are there any specific tips for stitching Under Armour shoes?
When stitching Under Armour shoes, there are a few tips that can help you achieve better results:
First, make sure to clean the area to be stitched and remove any loose threads or debris. This will ensure a clean and secure stitch. Use a thimble to protect your fingers while stitching, especially if you’re working with tough materials. Take breaks if needed to prevent hand fatigue. Finally, double-check your stitches for any loose ends or weak spots before finishing the repair.
5. Should I consider professional repair for Under Armour shoes?
If you’re uncertain about your stitching abilities or if the damage to your Under Armour shoes is extensive, it may be best to consider professional repair. Shoe repair shops have the expertise and specialized tools to handle complex repairs. They can ensure that your shoes are repaired properly and maintain their original quality. It’s worth considering professional help if you want to preserve the integrity of your Under Armour shoes.
Shoe repair#sew shoes#Under Armour
Final Thoughts
After exploring the process of stitching Under Armour shoes, it is clear that with a little patience and practice, anyone can master this skill. Whether you need to repair a worn-out pair or want to add a unique touch to your favorite sneakers, stitching can be a fun and rewarding DIY project. By following the step-by-step instructions and using the right tools and materials, you can achieve professional-looking results.
Remember, the key to successful shoe stitching is to take your time and pay attention to detail. From preparing the shoes and selecting the appropriate thread to mastering different stitching techniques, each step plays a crucial role in creating a durable and visually appealing outcome. Don’t be afraid to get creative and experiment with different patterns or colors to make your shoes truly stand out.
In conclusion, stitching Under Armour shoes is a skill that can be learned by anyone willing to put in the effort. Not only does it allow you to repair and customize your footwear, but it also provides a sense of accomplishment and satisfaction. So, grab your needle and thread, and get ready to give your shoes a new lease on life!