
Do you have a Reebok 9k lacrosse head that needs to be strung? Look no further! This guide will walk you through the steps to properly string your lacrosse head and get you back to playing in no time.
Stringing a lacrosse head can seem daunting at first, but with the right tools and techniques, it can be a quick and easy process. Whether you’re a seasoned player or just starting out, mastering the skill of stringing your own lacrosse head can give you a competitive edge on the field. So, let’s get started on how to string a Reebok 9k lacrosse head!
- Start by tying a knot at the top of the head and then create a U shape with the mesh.
- Thread the sidewall string through the first hole on the side and then through the mesh.
- Repeat the above step with the other sidewall string.
- Next, attach the shooting strings to the sidewall and weave them through the mesh.
- Finally, tie off the bottom of the mesh and adjust the tension to your liking.
How to String a Reebok 9k Lacrosse Head?
Lacrosse is a popular sport that requires skill, agility, and strength. It is a game that is enjoyed by people of all ages and skill levels. One of the most important aspects of playing lacrosse is having the right equipment, and stringing your lacrosse head is a crucial part of that setup. In this article, we will show you how to string a Reebok 9k lacrosse head.
Step 1: Materials Required
Before you start stringing, you’ll need to gather the necessary materials. Here is a list of the materials required to string your Reebok 9k lacrosse head:
- Reebok 9k lacrosse head
- Lacrosse mesh
- Strings (sidewall strings, top strings, bottom string, shooting strings)
- Scissors
- Needle-nose pliers
- Lighter
Once you have gathered all the necessary materials, you can start stringing your Reebok 9k lacrosse head.
Step 2: Stringing the Sidewalls
The sidewalls are the vertical strings that run up the sides of the lacrosse head. Here’s how you can string the sidewalls:
- Start by threading the string through the top hole on the sidewall.
- Bring the string down to the corresponding hole on the bottom of the sidewall and thread it through.
- Loop the string through the next hole on the bottom of the sidewall and bring it up to the corresponding hole on the top.
- Repeat this process until you have strung all the sidewall holes.
After you have strung the sidewalls, you can move on to the top string.
Step 3: Stringing the Top String
The top string is the horizontal string that runs across the top of the lacrosse head. Here’s how you can string the top string:
- Start by stringing the top string through the first hole on one side of the lacrosse head.
- Bring the string across the top of the head and thread it through the corresponding hole on the other side.
- Repeat this process until you have strung all the top string holes.
After you have strung the top string, you can move on to the bottom string.
Step 4: Stringing the Bottom String
The bottom string is the horizontal string that runs across the bottom of the lacrosse head. Here’s how you can string the bottom string:
- Start by threading the bottom string through the first hole on one side of the lacrosse head.
- Bring the string across the bottom of the head and thread it through the corresponding hole on the other side.
- Repeat this process until you have strung all the bottom string holes.
After you have strung the bottom string, you can move on to the shooting strings.
Step 5: Stringing the Shooting Strings
The shooting strings are the strings that run across the lacrosse head and help control the ball when shooting. Here’s how you can string the shooting strings:
- Start by threading the shooting string through the bottom hole on one side of the lacrosse head.
- Bring the string up through the next hole and then down through the following hole on the other side of the head.
- Repeat this process for all the shooting strings.
After you have strung all the shooting strings, you can start to adjust the tension of the strings to your liking.
Step 6: Adjusting the String Tension
The tension of the strings is crucial for a successful and comfortable play. Here’s how you can adjust the string tension:
- Start by pulling the strings tight using the needle-nose pliers.
- Use the lighter to burn the ends of the strings to prevent fraying.
- Adjust the tension of the strings by pulling them tighter or loosening them as needed.
Step 7: Test the Stringing
Once you have strung your Reebok 9k lacrosse head, you should test it out to make sure everything is working properly. This can be done by throwing the ball against a wall or catching it with your stick.
Benefits of Properly Stringing Your Lacrosse Head
Properly stringing your lacrosse head has several benefits, such as:
- Improved ball control
- Increased accuracy when shooting
- Comfortable grip on the stick
- Reduced chance of the ball getting stuck in the lacrosse head
Stringing Your Reebok 9k Lacrosse Head: Conclusion
Stringing your Reebok 9k lacrosse head is an essential part of preparing for a successful game. By following these steps, you can string your lacrosse head with ease and enjoy the benefits of a properly strung head. Remember to take your time and adjust the tension of the strings to your liking. Happy playing!
Frequently Asked Questions
Here are some commonly asked questions about how to string a Reebok 9k lacrosse head:
What materials do I need to string a Reebok 9k lacrosse head?
When stringing a Reebok 9k lacrosse head, you will need a few essential materials. First, you will need a piece of mesh to use as the actual stringing material. You will also need sidewall strings, shooting strings, and a top string. It’s a good idea to have a pair of scissors and a lighter on hand as well to help with the stringing process.
Some optional materials that may come in handy include a ball stop, which can help prevent the ball from getting stuck in the bottom of the head, and a stringing kit, which may come with extra materials and tools that can make the stringing process easier.
What is the best pattern to string my Reebok 9k lacrosse head?
There is no one “best” pattern for stringing a Reebok 9k lacrosse head, as it ultimately comes down to personal preference. However, some popular patterns include the traditional or “mid-pocket” pattern, which creates a pocket in the middle of the head, and the “low-pocket” pattern, which creates a pocket closer to the bottom of the head.
It’s a good idea to experiment with different patterns and adjust the tension of the strings until you find a setup that feels comfortable and effective for your playing style.
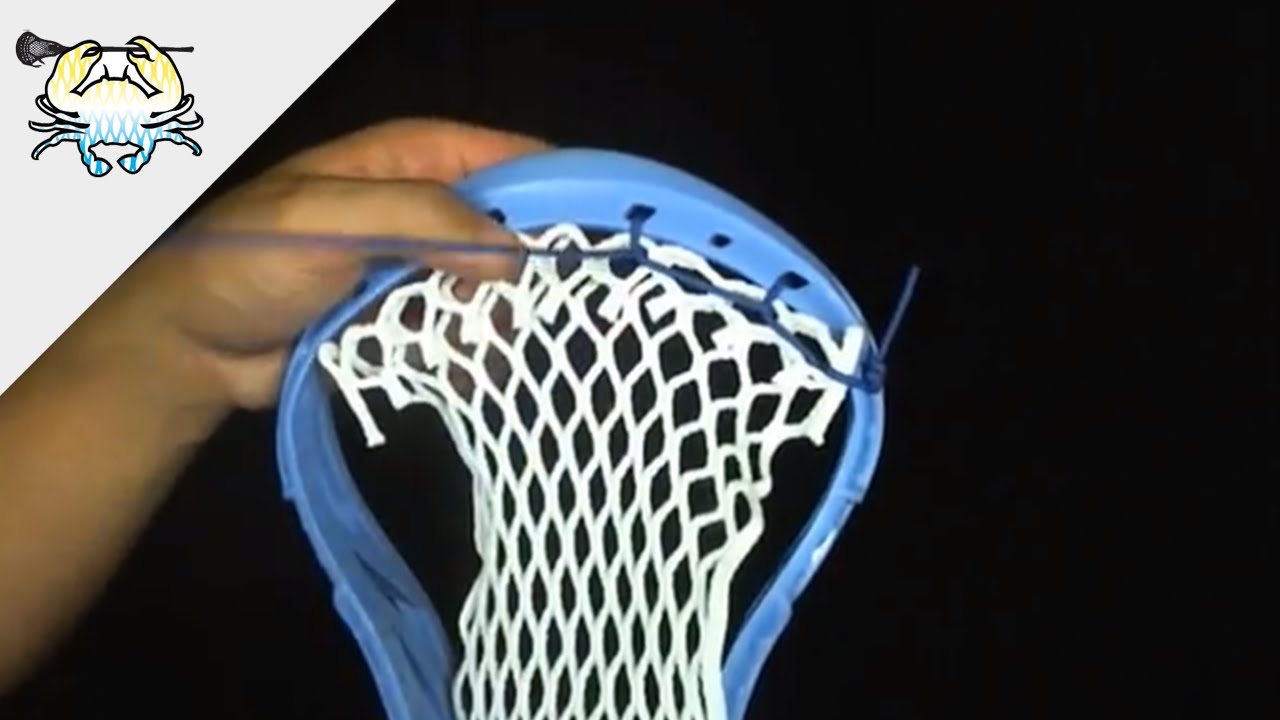
How do I attach the mesh to the Reebok 9k lacrosse head?
Attaching the mesh to the Reebok 9k lacrosse head can be a bit tricky, but there are a few key steps to follow. First, you will need to tie the top string to the top of the head, creating a loop that the mesh will attach to. Next, you will need to weave the mesh through the sidewall strings, pulling it tight as you go.
Once the mesh is attached to the sidewalls, you can begin to adjust the tension of the strings to create the desired pocket shape. Make sure to tie off the bottom of the mesh with a knot or ball stop to prevent the ball from getting stuck in the bottom of the head.
How do I adjust the tension of the strings on my Reebok 9k lacrosse head?
Adjusting the tension of the strings on your Reebok 9k lacrosse head is a crucial step in creating a functional and effective pocket. To adjust the tension, you can use a combination of pulling on the strings themselves and adjusting the knots that secure them to the head.
Make sure to check the tension of the strings regularly and adjust as necessary, as the pocket can change over time with use and weather conditions.
What are some common mistakes to avoid when stringing a Reebok 9k lacrosse head?
There are a few common mistakes that many lacrosse players make when stringing their Reebok 9k lacrosse heads. These include using too much or too little tension on the strings, not properly securing the knots, and not adjusting the pocket as needed during the stringing process.
It’s also important to pay attention to the rules and regulations of your specific lacrosse league or organization, as they may have guidelines regarding how the head can be strung. Taking the time to learn proper stringing techniques and avoiding these common mistakes can help you create a functional and effective pocket that will improve your game.
Reebok 9k re: string
In conclusion, learning how to string a Reebok 9k lacrosse head is an important skill for any lacrosse player. By following the steps outlined above, you can ensure that your head is properly strung for optimal performance on the field.
Remember to take your time and pay attention to detail when stringing your head. It may take a few attempts to get it right, but the end result will be worth it.
Lastly, don’t be afraid to experiment with different stringing patterns and techniques to find the perfect setup for your playing style. With practice and patience, you can become a master at stringing your Reebok 9k lacrosse head.