
Hey there, shoe enthusiasts! Are you ready to step up your shoe game and learn how to tie your Fila shoe laces like a pro? Well, you’ve come to the right place! In this article, we’re going to dive into the art of tying Fila shoe laces and give you some tips and tricks to make sure your laces stay secure and stylish throughout the day. So, grab your favorite pair of Filas, sit back, and get ready to become a lace-tying expert.
Now, we all know that tying shoe laces is a basic skill that we learn at a young age, but let’s be honest, there’s a certain finesse to tying laces that can take your shoe game to the next level. Whether you’re rocking a pair of classic Fila sneakers or trying out their trendy new releases, knowing how to tie your laces properly can make all the difference in both comfort and style. In this article, we’ll cover different techniques for tying your Fila shoe laces, including the traditional criss-cross method, the stylish bow tie, and even some fun alternative styles to spice up your shoe game. So, if you’re ready to take your laces to new heights, keep reading to discover the secrets of mastering the art of tying Fila shoe laces.
- Start by crossing the left lace over the right lace.
- Take the left lace and bring it under the right lace.
- Create a loop with the left lace and hold it with your thumb and index finger.
- Take the right lace and wrap it around the loop, going from front to back.
- Insert the right lace through the loop from the back to the front.
- Tighten the knot by pulling both laces in opposite directions.
**How to Tie Fila Shoe Lace?**
Fila shoes are known for their stylish designs and comfortable fit, but one thing that can be a bit tricky is tying the shoelaces. Whether you’re a seasoned sneakerhead or new to the world of Fila footwear, learning how to tie Fila shoelaces properly is essential for both style and functionality. In this article, we will guide you through the process of tying Fila shoelaces step-by-step, ensuring that your sneakers are securely fastened and looking sharp.
**Why is it important to tie Fila shoelaces correctly?**
Tying your Fila shoelaces properly not only ensures that your shoes stay securely on your feet but also adds to the overall aesthetics of your outfit. Loose or improperly tied shoelaces can lead to discomfort, tripping hazards, and a sloppy appearance. By taking the time to learn the correct way to tie Fila shoelaces, you can avoid these issues and confidently rock your sneakers with style.
**Step-by-step guide: How to tie Fila shoelaces**
1. **Start with equal lace lengths**: Begin by making sure that both shoelaces are of equal length. This will ensure that your lacing is balanced and symmetrical.
2. **Cross over and pull tight**: Take one lace in each hand and cross them over each other, forming an “X” shape. Pull the ends of the laces tight to secure the crossing.
3. **Create a loop**: Take the lace on the right-hand side and create a loop by folding it back on itself. Ensure that the loop is tight and secure.
4. **Cross over and wrap around**: Take the lace on the left-hand side and cross it over the loop you just created. Bring the lace under the loop and wrap it around, threading it through the opening created by the initial cross.
5. **Tighten the knot**: Holding the ends of both laces, pull them tight to secure the knot. Ensure that the knot is snug but not too tight, allowing for comfortable movement and flexibility.
6. **Create a second loop**: Take the lace on the left-hand side and create a second loop by folding it back on itself. As before, make sure that the loop is tight and secure.
7. **Cross over and wrap around**: Take the lace on the right-hand side and cross it over the second loop. Bring the lace under the loop and wrap it around, threading it through the opening created by the cross.
8. **Tighten the knot**: Again, hold the ends of both laces and pull them tight to secure the second knot. Adjust the tightness as needed for comfort and fit.
**Tips for tying Fila shoelaces**
– When tying Fila shoelaces, it’s important to find the right balance between a secure knot and one that allows for easy removal. Experiment with different tensions to find what works best for you.
– If you prefer a more streamlined look, you can tuck the loose ends of the laces into the sides of your sneakers or use lace clips to keep them in place.
– Consider using different lacing techniques to add a unique touch to your Fila sneakers. From straight bar lacing to criss-cross patterns, there are various styles to choose from that can elevate the look of your shoes.
– Regularly check the tightness of your shoelaces throughout the day, especially if you engage in activities that may cause them to loosen. It’s better to be safe than sorry!
**Common mistakes to avoid when tying Fila shoelaces**
– Over-tightening the laces can lead to discomfort and restrict blood flow to your feet. Ensure that the laces are snug but not too tight to avoid any unnecessary pressure.
– Leaving the laces too loose can cause your shoes to slip off or feel unstable. Always double-check the tightness of the knots before heading out.
– Unequal lace lengths can result in an unbalanced appearance and make the lacing process more difficult. Take the time to adjust the lengths before tying the laces.
– Rushing through the tying process can lead to sloppy knots and an untidy look. Take your time and pay attention to each step to ensure a neat and secure finish.
**Incorporating Fila shoelaces into your style**
Fila shoelaces are not just functional but can also be a stylish accessory to complement your overall look. Consider experimenting with different lace colors, patterns, or even swapping out the original laces for ones that match your personal style. From vibrant neon laces to classic white ones, the possibilities are endless when it comes to expressing your individuality through your Fila sneakers.
**Conclusion**
Tying Fila shoelaces is a simple yet essential skill that every sneaker enthusiast should master. By following the step-by-step guide provided in this article and avoiding common mistakes, you can ensure that your Fila shoes stay securely fastened and add a touch of style to your outfit. So, lace up your Fila sneakers with confidence and step out in style!
Key Takeaways: How to Tie Fila Shoe Lace?
- Start by crossing the laces over each other.
- Take one lace and loop it under the other lace.
- Pull the ends of the laces to tighten the knot.
- Create a loop with one lace and wrap the other lace around it.
- Tuck the end of the second lace through the loop to secure the knot.
Frequently Asked Questions
Question 1: How do I start tying my Fila shoe lace?
To start tying your Fila shoe lace, make sure your shoes are on and the lace is fully threaded through all the eyelets. Take one end of the lace in each hand and cross them over each other, with one end going over the other.
Next, take the end that went over and thread it under the other end, pulling it through to create a loop. Hold onto the loops with your fingers and pull them tight to secure the lace in place.
Question 2: How do I create the first knot?
To create the first knot, take one of the loops in your hand and cross it over the other loop, creating an “X” shape. Take the loop that is now on top and thread it through the space between the loops, pulling it tightly to form a knot.
Make sure the knot is tight enough to hold the shoe lace in place, but not too tight that it becomes difficult to undo later. This knot will serve as the base for the rest of the shoe lace tying process.
Question 3: What is the best way to tie a double knot?
To tie a double knot, start by creating a regular knot as described in the previous answer. Once you have the first knot in place, take one of the loops and cross it over the other loop, just like before.
Then, instead of threading the loop through the space between the loops, simply tie another knot using the two loops. Pull both loops tight to secure the double knot. This will ensure that the shoe lace stays securely tied throughout the day.
Question 4: How do I prevent my Fila shoe lace from coming undone?
To prevent your Fila shoe lace from coming undone, make sure the initial knot is tied tightly. Additionally, you can use a technique called “bunny ears” to create a more secure knot. After tying the first knot, instead of pulling the loops tight, create two loops with each end of the lace.
Take one loop and cross it over the other loop, then thread one loop through the space between the loops and pull tight. Repeat this process to create a double knot with the bunny ears. This technique provides extra security and reduces the chances of the shoe lace coming undone.
Question 5: Can I use any other methods to tie my Fila shoe lace?
Yes, there are several other methods you can use to tie your Fila shoe lace. Some popular alternatives include the “Ian Knot” and the “Twistie Knot.” These methods offer different techniques for tying the shoe lace and may provide a more secure or efficient knot.
It’s always a good idea to experiment with different methods to find the one that works best for you. Just make sure the shoe lace is tied securely and comfortably, allowing you to move freely without worrying about it coming undone.
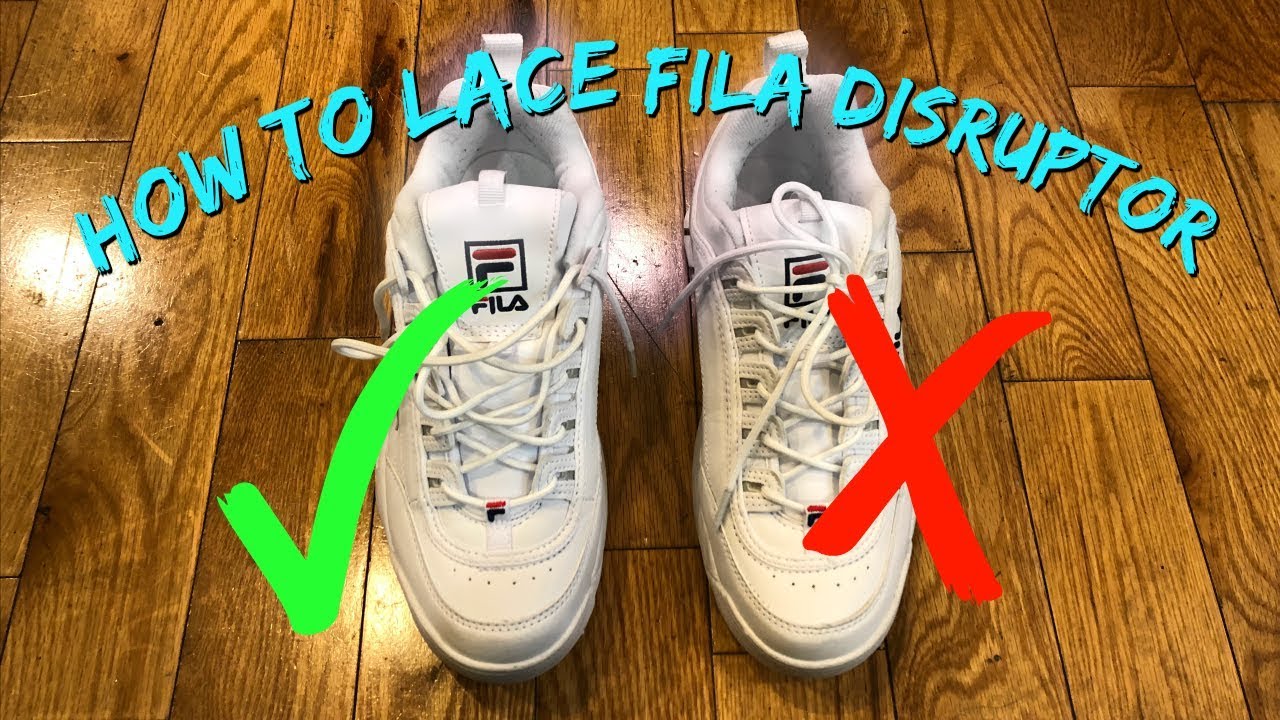
How to Lace Fila Disruptor
Final Summary: Master the Art of Tying Fila Shoe Laces
So there you have it, folks! You’ve now unlocked the secret to tying your Fila shoe laces like a pro. With these simple yet effective techniques, you can ensure that your shoes stay snug and secure on your feet, no matter how fast you’re running or how high you’re jumping. Remember, practice makes perfect, so don’t be discouraged if it takes a few tries to get the hang of it. Soon enough, you’ll be tying your Fila shoe laces with confidence and finesse.
But let’s not forget the importance of personal style. While we’ve covered the basic knot and the stylish bunny ears technique, feel free to experiment and find your own unique way of lacing up your Filas. After all, your shoes are a reflection of your personality, and what better way to express yourself than through your shoelace tying skills?
So go ahead, grab your favorite pair of Filas, and start practicing these techniques. Before you know it, you’ll be the envy of all your friends with your perfectly tied shoe laces. Happy lacing!