
If you’ve recently purchased a pair of Fila shoes with ring eyelets, you might be wondering how to tie them properly. Well, look no further because I’ve got you covered! In this article, I’ll guide you through the process of tying Fila shoes with ring eyelets, ensuring that your laces stay secure and your shoes fit comfortably. So, grab your shoes and let’s dive in!
When it comes to tying Fila shoes with ring eyelets, there are a few key steps to follow. First, make sure your laces are threaded through all the eyelets, leaving an equal length on both sides. Then, cross the laces over each other and feed each lace through the opposite ring eyelet. This creates a crisscross pattern that will hold your shoes in place. Next, take the ends of the laces and feed them through the adjacent ring eyelets, going from the outside in. This will create a loop on each side. Finally, tie a secure knot using the loops you just created. Make sure the knot is tight enough to keep your shoes snug but not too tight to restrict circulation. And voila! You’ve successfully tied your Fila shoes with ring eyelets. Now you’re ready to hit the streets in style and comfort.
Tying Fila shoes with ring eyelets is a simple process that ensures a secure fit and stylish look. Follow these step-by-step instructions to master the technique:
- Insert the shoelace through the bottom ring eyelet on one side of the shoe.
- Bring the lace across and insert it into the corresponding ring eyelet on the opposite side.
- Continue lacing up the shoe, alternating between the ring eyelets until you reach the top.
- Once at the top, tie a secure knot to keep the shoe in place.
Now you’re ready to rock your Fila shoes with confidence and style!
How to Tie Fila Shoes With Ring Eyelets?
Fila shoes with ring eyelets offer a unique and stylish look, but they can be a bit tricky to tie. If you’re struggling to get that perfect, secure knot, don’t worry – we’ve got you covered. In this article, we’ll walk you through the steps to tie Fila shoes with ring eyelets properly. Whether you’re a sneakerhead or just looking to add some flair to your footwear, mastering this technique will ensure your Fila shoes stay snug and stylish all day long.
Step 1: Prepare Your Laces
Before you start tying your Fila shoes, make sure your laces are properly threaded through the ring eyelets. Start by inserting one end of the lace into the bottom ring and pull it through until it’s evenly divided. Repeat this process with the other end of the lace, so you have two equal lengths to work with. This will ensure that your laces are properly aligned and ready for tying.
Step 1.1: Straighten the Laces
To make the tying process easier, straighten out your laces by pulling them taut. This will help prevent any tangles or twists as you work with them. It’s important to have smooth, straight laces to achieve a neat and secure knot.
Step 1.2: Adjust the Length
If your laces are too long, you may need to adjust the length before tying. Simply loosen the laces, trim them to your desired length, and rethread them through the ring eyelets. Make sure to leave enough length for a secure knot without excess laces that could get in the way.
Step 2: Cross the Laces
Now that your laces are ready, it’s time to start tying. Begin by crossing the right lace over the left lace, forming an “X” shape. Ensure that the laces are crossed evenly and not twisted. This will create a solid foundation for the knot.
Step 2.1: Hold the Laces Securely
As you cross the laces, hold them securely between your thumb and forefinger. This will help maintain tension and prevent any slipping or loosening of the laces during the tying process. Keeping a firm grip will ensure a tight and secure knot.
Step 2.2: Pass the Right Lace Under
After crossing the laces, take the right lace and pass it under the left lace. This step is crucial in creating the correct knot structure. Make sure the lace goes under the left lace without any twists or tangles.
Step 3: Create a Loop with the Right Lace
With the right lace now positioned under the left lace, it’s time to create a loop. Take the right lace and fold it over itself, forming a small loop or bunny ear shape. Hold the loop securely between your thumb and forefinger, ensuring it doesn’t come undone during the next steps.
Step 3.1: Secure the Loop
While holding the loop, use your other hand to pinch it against the left lace. This will help keep the loop in place as you complete the final steps of the tying process. A secure loop is essential for a properly tied knot.
Step 3.2: Pass the Left Lace Through
Now, take the left lace and pass it through the loop created by the right lace. This will create a second loop or bunny ear shape on the left side. Make sure the left lace goes through the loop smoothly without any twists or tangles.
Step 4: Tighten the Knot
With both loops in place, gently pull the laces in opposite directions to tighten the knot. This will bring the loops together, securing the knot firmly. Be careful not to pull too tight, as it may cause discomfort or restrict movement. Find the perfect balance between snugness and comfort.
Step 4.1: Adjust the Tightness
After tightening the knot, check the fit of your Fila shoes. If the laces feel too loose or too tight, you can adjust the tightness by pulling the loops or loosening them slightly. Finding the right tension will ensure a comfortable and secure fit throughout the day.
Step 4.2: Double Knot for Extra Security
For added security, consider tying a double knot with your Fila shoes. Simply repeat the previous steps, creating a second knot on top of the first one. This will prevent the laces from coming undone and keep your shoes securely fastened.
Step 5: Trim Excess Laces
Once you’re satisfied with the knot and fit of your Fila shoes, it’s time to trim any excess laces. Using a pair of scissors, carefully cut the laces to your desired length, leaving a small tail for aesthetic purposes. Be cautious not to cut the laces too short, as it may make retying difficult or compromise the integrity of the knot.
Step 5.1: Seal the Ends
To prevent fraying, you can seal the ends of the laces with clear nail polish or a heat source like a lighter. This will help maintain the integrity of the laces and prevent them from unraveling over time. Take caution when using a lighter and ensure proper ventilation.
Now that you know how to tie Fila shoes with ring eyelets, you can confidently rock your stylish footwear with ease. Remember to follow each step carefully, ensuring that your laces are properly aligned and your knots are secure. With a little practice, you’ll become a pro at tying Fila shoes in no time. Enjoy the comfort and style of your perfectly tied shoes!
Key Takeaways: How to Tie Fila Shoes With Ring Eyelets?
- Start by lacing the shoelaces through the bottom eyelets of the Fila shoes.
- Cross the laces over each other and thread them through the ring eyelets from the bottom to the top.
- Make sure to pull the laces tight to keep the shoes secure on your feet.
- Once you reach the top eyelets, tie a double knot to secure the laces in place.
- Remember to adjust the tightness of the laces according to your comfort level.
Frequently Asked Questions
Here are some common questions about tying Fila shoes with ring eyelets:
1. How do I start lacing my Fila shoes with ring eyelets?
To begin, make sure your Fila shoes are properly sized and laced up. Start by inserting the shoelace through the bottom holes of the ring eyelets, leaving equal lengths of lace on both sides. Cross the laces over each other and insert them through the next set of ring eyelets, moving upwards.
Continue this crisscross pattern until you reach the top eyelets. Make sure the laces are pulled snugly, but not too tight, to allow for proper movement and comfort. Once you reach the top, tie a secure knot to keep your shoes in place.
2. Can I customize the lacing style for my Fila shoes with ring eyelets?
Yes, you can definitely experiment with different lacing styles to personalize your Fila shoes with ring eyelets. One popular option is the “straight bar” lacing style, where the laces are threaded straight across the ring eyelets, creating a clean and sleek look.
Another option is the “crisscross” lacing style, which is the traditional method mentioned earlier. This style provides a secure fit and is easy to adjust. Feel free to explore other lacing styles as well to find the one that suits your style and comfort preferences.
3. How do I ensure a snug fit when tying my Fila shoes with ring eyelets?
To achieve a snug fit, make sure the laces are tightened evenly on both sides. Start by pulling the laces through the bottom ring eyelets and gradually tighten them as you move upwards. This will help distribute the tension evenly across the shoe.
Additionally, you can use the “heel lock” technique to secure the heel area and prevent slippage. To do this, after crossing the laces and inserting them through the next set of ring eyelets, instead of crisscrossing them again, bring both laces towards the center and loop them under each other before inserting them into the next set of eyelets. This creates a secure lock around the heel.
4. How do I prevent the laces from coming undone?
To prevent the laces from coming undone, make sure you tie a double knot at the top. Start by crossing the laces over each other and pulling them tight. Then, take one lace and make a loop, bringing the other lace around and through the loop. Repeat this step with the other lace. Pull both loops tight to secure the knot.
If you find that your laces still tend to come undone, you can try using lace locks or lace anchors. These accessories can help keep the laces in place throughout the day and prevent them from slipping or untying.
5. How often should I re-tie my Fila shoes with ring eyelets?
The frequency of re-tying your Fila shoes with ring eyelets depends on various factors, such as the type of activity you’re engaged in, the tightness of the laces, and your personal comfort. It’s generally a good idea to check and adjust the laces periodically, especially if you feel any discomfort or notice the shoes becoming loose.
If you’re participating in high-intensity activities or sports, it’s recommended to re-tie your shoes more frequently to maintain a secure fit and prevent any potential injuries. Listen to your body and make adjustments as needed to ensure your shoes provide the necessary support and comfort throughout the day.
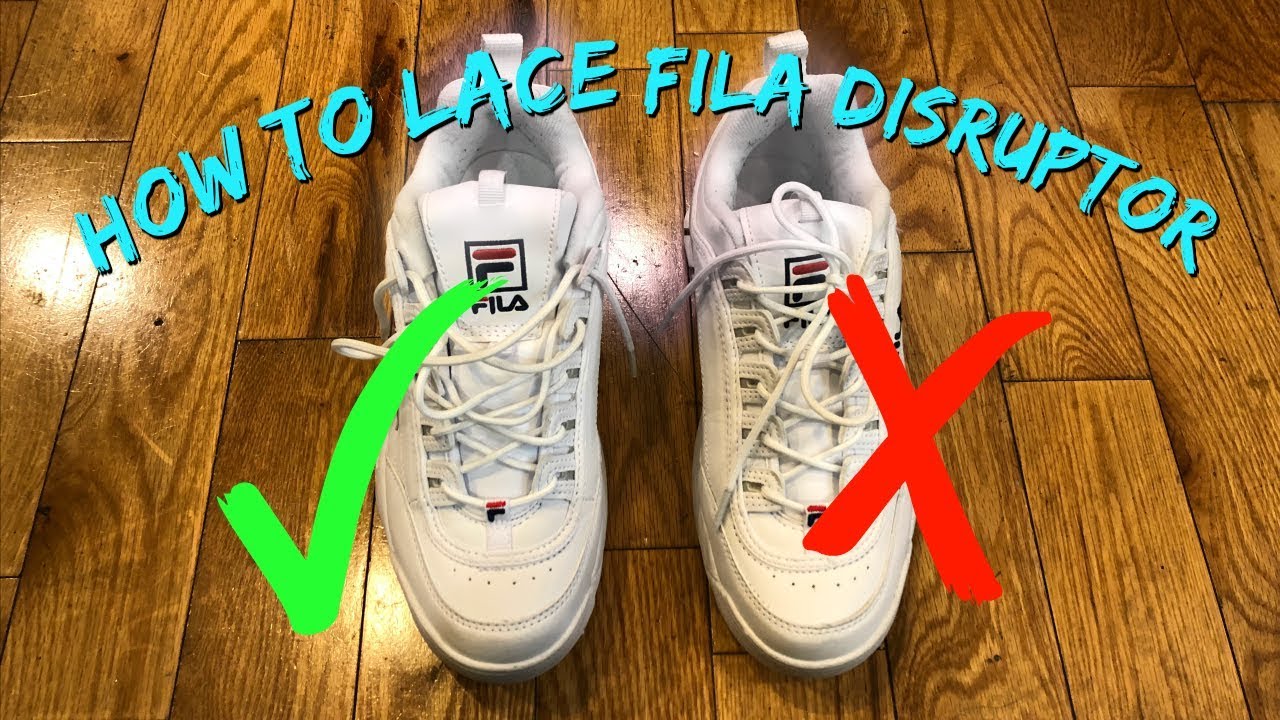
How to Lace Fila Disruptor
Final Thoughts
So there you have it, a complete guide on how to tie Fila shoes with ring eyelets! Now that you’ve got the hang of it, you’ll never have to worry about your shoelaces coming undone or tripping over them again. With a few simple steps, you can achieve a secure and stylish knot that will keep your Fila shoes snugly in place.
Remember, the key is to thread the laces through the rings in a crisscross pattern, creating a tight and secure fit. Pull the laces snugly and tie a double knot to ensure they stay in place throughout the day. And don’t forget to tuck in any excess lace to keep your look neat and tidy.
Not only will mastering this technique save you time and frustration, but it will also add a touch of flair to your footwear. Whether you’re hitting the streets or hitting the gym, your well-tied Fila shoes will be the envy of all your friends. So go ahead, give it a try, and step out with confidence knowing that your shoes are securely fastened and ready for any adventure that comes your way.
Remember, practice makes perfect, so don’t be discouraged if it takes a few tries to get the hang of it. Soon enough, you’ll be a pro at tying Fila shoes with ring eyelets, and you’ll wonder how you ever managed without this handy skill. So lace up, step out, and strut your stuff with the confidence that comes from knowing your shoes are securely tied and ready for whatever the day may bring. Happy lacing!